Secure Your IoT: The Ultimate Remote SSH Tutorial
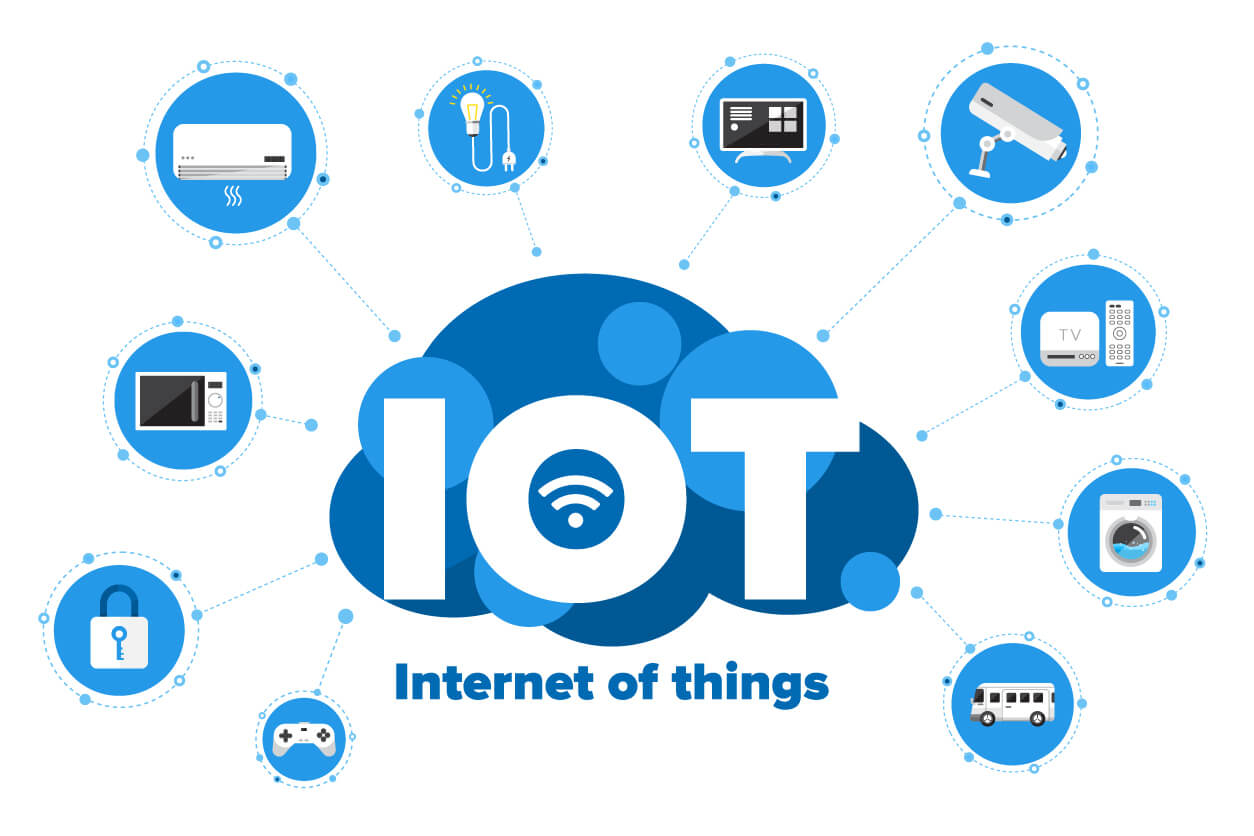
In today's rapidly expanding digital landscape, where smart homes, industrial sensors, and connected cities are becoming the norm, the ability to securely manage and monitor Internet of Things (IoT) devices from anywhere in the world is not just a convenience—it's a necessity. This comprehensive IoT remote SSH tutorial will guide you through the essential steps and best practices for establishing secure, efficient, and reliable connections to your IoT devices. Whether you're a tech enthusiast, a hobbyist tinkering with a Raspberry Pi, or a professional managing a large-scale IoT deployment, mastering remote access is a game-changer.
With the exponential growth of IoT deployments, the need for centralized control, quick troubleshooting, seamless firmware updates, and secure data retrieval has become critical for ensuring efficiency, maintaining robust security, and significantly reducing downtime. This is precisely where SSH (Secure Shell) becomes an invaluable tool, acting as the golden key to unlocking secure communication with your IoT devices. An IoT remote SSH connection is the perfect way to securely monitor and manage your devices remotely, ensuring that your operations remain smooth and protected.
Table of Contents
- What is SSH and Why It's Essential for IoT?
- The Critical Need for Remote IoT Access Today
- Preparing Your IoT Device for SSH Access
- Step-by-Step Guide to Establishing an IoT Remote SSH Connection
- Advanced SSH Techniques for IoT Management
- Securing Your IoT Remote SSH Setup: Best Practices
- Troubleshooting Common IoT SSH Issues
- The Future of IoT Remote Management with SSH
What is SSH and Why It's Essential for IoT?
SSH, or Secure Shell, is a cryptographic network protocol that allows users to securely access devices over an unsecured network, such as the internet. It provides a secure channel over an untrusted network by using strong encryption to protect data integrity and confidentiality. Imagine sending sensitive commands or retrieving critical data from your IoT device: without SSH, this information could be intercepted or tampered with. SSH encrypts all communication, including usernames, passwords, commands, and data, making it virtually impossible for unauthorized parties to eavesdrop or interfere. This fundamental security makes SSH an indispensable tool for anyone involved in remote IoT device management. It's not just about convenience; it's about safeguarding your devices and the data they handle from potential cyber threats. The reliability and robustness of SSH protocols have made it the industry standard for remote server administration, and its application to the world of IoT is a natural and critical extension.The Power of Secure Shell in IoT
The power of Secure Shell in IoT stems from its ability to provide a command-line interface (CLI) to a remote device as if you were sitting right in front of it. This direct access allows for a myriad of essential tasks: from executing scripts and installing software updates to diagnosing issues and configuring network settings. For IoT devices, which are often deployed in remote or hard-to-reach locations, this capability is revolutionary. Instead of physically traveling to each device, you can manage an entire fleet from a central location, saving immense amounts of time and resources. Furthermore, SSH supports various authentication methods, including password-based and more secure key-based authentication, offering flexibility while maintaining high security standards. This adaptability ensures that whether you're managing a single smart sensor or thousands of industrial IoT gateways, SSH provides the secure, granular control you need. The key benefits of an IoT platform remote SSH connection are clear: unparalleled security, operational efficiency, and the flexibility to manage devices globally.The Critical Need for Remote IoT Access Today
Why does remote access to IoT devices matter today more than ever? As IoT continues its explosive growth across various industries, ensuring secure, efficient, and reliable communication between devices and their operators is paramount. Consider a smart city infrastructure, where thousands of sensors monitor traffic, air quality, and public safety. Or an industrial setting, with countless machines reporting operational data. Manually managing these devices would be an impossible task. Remote access, facilitated by tools like SSH, becomes the backbone of such complex systems. It enables centralized control, allowing administrators to monitor device status, push firmware updates, and perform diagnostics from a single dashboard. This capability is crucial for quick troubleshooting, minimizing downtime, and ensuring the continuous operation of critical services. Without robust remote access, scaling IoT deployments would be fraught with logistical challenges and security vulnerabilities. The ability to securely retrieve data, update software, and respond to alerts in real-time ensures that IoT systems remain responsive, resilient, and secure against evolving threats. Mastering SSH remote IoT device connections is no longer optional; it's a fundamental skill for anyone involved in this dynamic field.Preparing Your IoT Device for SSH Access
Before you can establish an IoT remote SSH connection, your device needs to be properly prepared. This typically involves ensuring the device's operating system (OS) is configured to allow SSH connections, that it's connected to a network, and that basic security measures are in place. Most Linux-based IoT devices, such as the popular Raspberry Pi, come with an SSH server package (like OpenSSH) pre-installed or readily available for installation. You'll need to ensure this service is enabled and running. For headless devices (those without a monitor or keyboard), initial setup often involves writing the OS image to an SD card and enabling SSH through a configuration file before the first boot. Network connectivity is also crucial; your device needs an IP address on your local network, and if you intend to access it from outside your local network, you'll need to consider network configurations like port forwarding on your router. Remember, securing your IoT remote SSH setup begins with the initial device preparation, ensuring that default credentials are changed and unnecessary services are disabled.Raspberry Pi: The Go-To IoT Device for SSH
The Raspberry Pi has become the quintessential IoT device for enthusiasts and developers alike, largely due to its versatility, low cost, and strong community support. For anyone looking to dive into an IoT remote SSH tutorial, the Raspberry Pi is an excellent starting point. Its Debian-based operating system, Raspberry Pi OS (formerly Raspbian), makes enabling SSH straightforward. You can enable SSH either via the `raspi-config` tool on the Pi itself, or by placing an empty file named `ssh` (no extension) into the boot partition of the SD card before first boot. This simplicity, combined with the Pi's robust capabilities for various IoT projects, makes it an ideal platform for learning and implementing secure remote access. By leveraging Secure Shell (SSH) protocols, you can remotely interact with your Raspberry Pi, enabling seamless communication and control over your IoT platform. This includes everything from running Python scripts to managing connected sensors and actuators. A Raspberry Pi IoT SSH tutorial is essentially a comprehensive guide to establishing secure remote access to this powerful mini-computer, allowing you to manage your projects from anywhere.Step-by-Step Guide to Establishing an IoT Remote SSH Connection
Establishing an IoT remote SSH connection involves a few key steps, regardless of your client operating system. First, ensure SSH is enabled on your IoT device. For a Raspberry Pi, as mentioned, this is done via `raspi-config` or by creating an `ssh` file in the boot partition. Once enabled, you'll need to find your device's IP address on your local network. You can often do this by logging into your router's administration page, using network scanning tools like `nmap`, or by running `hostname -I` directly on the device if you have a monitor connected. With the IP address in hand, you're ready to connect from your computer. The general command structure for SSH is `ssh username@ip_address`. For example, if your Raspberry Pi's username is `pi` and its IP address is `192.168.1.100`, you would type `ssh pi@192.168.1.100` into your terminal or command prompt. The first time you connect, you'll likely be asked to confirm the device's authenticity; type `yes` to proceed. You'll then be prompted for the password. Upon successful authentication, you'll be presented with the command line of your IoT device, ready for remote management.Connecting from Windows, macOS, and Linux
The process of connecting via SSH varies slightly depending on your client operating system:- Windows: Modern versions of Windows (Windows 10 and 11) have a built-in SSH client, so you can simply open Command Prompt or PowerShell and use the `ssh` command as described above. For older Windows versions, you'll need a third-party client like PuTTY. Download PuTTY, enter your device's IP address in the "Host Name (or IP address)" field, ensure the port is 22 (the default for SSH), and click "Open." You'll then be prompted for your username and password in the PuTTY terminal window.
- macOS: macOS comes with a pre-installed SSH client. Open the "Terminal" application (found in Applications > Utilities) and use the `ssh` command directly: `ssh username@ip_address`.
- Linux: Similar to macOS, Linux distributions have a built-in SSH client. Open your preferred terminal emulator and use the `ssh` command: `ssh username@ip_address`.
Advanced SSH Techniques for IoT Management Once you've mastered the basics of an IoT remote SSH tutorial, you can explore more advanced techniques to enhance security and functionality. Key-based authentication is a crucial upgrade from password-based logins. Instead of typing a password, you use a pair of cryptographic keys: a private key stored securely on your local machine and a public key stored on your IoT device. This method is far more secure and convenient, as it eliminates the risk of brute-force password attacks. To set this up, you'll generate a key pair using `ssh-keygen` on your client machine and then copy the public key to your IoT device's `~/.ssh/authorized_keys` file using `ssh-copy-id`. Another powerful feature is SSH port forwarding (tunneling). This allows you to securely access services running on your IoT device's local network that are not directly exposed to the internet. For instance, if your IoT device hosts a web server on port 80, you can create an SSH tunnel to access it securely from your local browser. The command `ssh -L 8080:localhost:80 username@ip_address` would forward traffic from your local port 8080 to the device's port 80. SSH also supports reverse port forwarding, useful for accessing your local services from the IoT device. Furthermore, scripting SSH commands allows for automation of tasks like data collection, firmware updates, or device reboots, making remote IoT management highly efficient.
Securing Your IoT Remote SSH Setup: Best Practices
Securing your IoT remote SSH setup is paramount to protect your devices from unauthorized access and cyber threats. Neglecting security can turn your IoT devices into vulnerable entry points for malicious actors. Here are essential best practices:- Change Default Credentials: Immediately change the default username (e.g., `pi` on Raspberry Pi) and password for your IoT device. Use strong, unique passwords that are complex and not easily guessable.
- Use Key-Based Authentication: As discussed, this is significantly more secure than passwords. Disable password authentication entirely once key-based authentication is set up in your `sshd_config` file (`PasswordAuthentication no`).
- Disable Root Login: Prevent direct SSH login as the `root` user. Instead, log in as a regular user and use `sudo` for administrative tasks. Set `PermitRootLogin no` in `sshd_config`.
- Change Default SSH Port: The default SSH port is 22. Changing it to a non-standard, higher port number (e.g., 22222) makes your device less visible to automated port scanners and basic attack attempts. Update `Port 22222` in `sshd_config`.
- Implement Firewall Rules: Configure a firewall (e.g., `ufw` on Linux) on your IoT device to only allow SSH connections from specific, trusted IP addresses, if possible. This significantly reduces the attack surface.
- Keep Software Updated: Regularly update your IoT device's operating system and all installed software to patch known vulnerabilities.
- Limit User Access: Create separate user accounts for different tasks and grant only the necessary permissions. Avoid giving unnecessary `sudo` privileges.
- Monitor Logs: Periodically check SSH logs (`/var/log/auth.log` on Linux) for suspicious login attempts or activities.
- Consider a VPN: For accessing devices behind a router (like remote IoT SSH behind router), setting up a Virtual Private Network (VPN) can provide an additional layer of security, creating a secure tunnel for all traffic, including SSH.
Troubleshooting Common IoT SSH Issues
Even with a clear IoT remote SSH tutorial, you might encounter issues. Here are some common problems and their solutions:- Connection Refused:
- SSH Server Not Running: Ensure the SSH service is active on your IoT device. On Linux, use `sudo systemctl status ssh` or `sudo service ssh status`. If not running, start it with `sudo systemctl start ssh` or `sudo service ssh start`.
- Firewall Blocking: Check if a firewall on the IoT device or your network is blocking port 22 (or your custom SSH port).
- Incorrect IP Address: Double-check the IP address of your IoT device.
- Permission Denied (Publickey):
- Incorrect Permissions on Keys: Ensure your private key file on your client machine has strict permissions (e.g., `chmod 400 ~/.ssh/id_rsa`).
- Public Key Not on Device: Verify that your public key is correctly copied to the `~/.ssh/authorized_keys` file on the IoT device.
- Incorrect `sshd_config` Settings: Ensure `PubkeyAuthentication yes` is set in `sshd_config` on the IoT device.
- Password Authentication Fails:
- Incorrect Password: Double-check your password. Remember, it's case-sensitive.
- Password Authentication Disabled: If you've set up key-based authentication, you might have disabled password authentication in `sshd_config`.
- Host Key Verification Failed: This usually happens if the IP address of your device has changed, or if you're connecting to a different device with the same IP. You can remove the old host key from your client's `~/.ssh/known_hosts` file (the error message will tell you which line to remove) and then try connecting again.
- No Route to Host: This indicates a network issue. Your client machine cannot reach the IoT device's IP address. Check network cables, Wi-Fi connectivity, and router settings. If accessing remotely, ensure port forwarding is correctly configured on your router.
The Future of IoT Remote Management with SSH
The future of IoT remote management will undoubtedly continue to rely heavily on SSH, even as new technologies emerge. While cloud-based IoT platforms offer centralized dashboards and managed services, SSH remains the fundamental low-level access tool for deep diagnostics, custom script execution, and initial device setup. Its robustness, security, and ubiquity make it irreplaceable for tasks that require direct command-line interaction. As IoT deployments scale, the demand for efficient and secure remote access will only increase. SSH's ability to facilitate secure data retrieval, enable over-the-air (OTA) updates, and provide real-time troubleshooting capabilities positions it as a cornerstone technology. We can expect to see further integration of SSH capabilities into more user-friendly interfaces and IoT management platforms, abstracting some of the complexity while retaining the underlying security benefits. Mastering remote IoT web SSH tutorial, including its application on mobile platforms like Android, has become an essential tool for developers and tech enthusiasts alike, enabling secure and efficient management of IoT devices from anywhere. Furthermore, the concept of "remote IoT platform SSH free Raspberry Pi" solutions highlights the ongoing trend of leveraging open-source tools and affordable hardware to achieve powerful and cost-effective remote management, making advanced IoT capabilities accessible to a wider audience.Conclusion
This comprehensive IoT remote SSH tutorial has covered everything from the basics of SSH to advanced techniques and crucial best practices. We've explored why SSH is invaluable for secure remote IoT device management, how to prepare your devices (especially the popular Raspberry Pi), and provided a step-by-step guide to establishing connections from various operating systems. We also delved into advanced SSH features like key-based authentication and port forwarding, and most importantly, highlighted critical security measures to protect your IoT ecosystem. By following the guidelines and tips provided in this guide, you can confidently manage your IoT devices remotely, ensuring both security and efficiency in your operations. An IoT remote SSH connection is a powerful tool that empowers you to monitor, troubleshoot, and update your devices from anywhere in the world, significantly reducing operational overhead and enhancing system reliability. Whether you're a tech enthusiast, a hobbyist, or just curious about IoT, this article has aimed to equip you with the knowledge needed to master remote IoT management using SSH. Now, take the next step: apply what you've learned to your own IoT projects. Experiment with different configurations, explore advanced features, and always prioritize security. Your journey into secure and efficient IoT device management has just begun. We encourage you to share your experiences in the comments below, or explore other articles on our site for more insights into the exciting world of the Internet of Things!
Premium Vector | IOT Internet of things devices and connectivity
What is the Internet of Things and how does it Work?

¿Qué es el Internet de los objetos (IoT)? - Tridens
